CNC Mill: Difference between revisions
Jump to navigation
Jump to search
mNo edit summary |
(Fix build volume) |
||
| Line 14: | Line 14: | ||
'''Coordinate System:''' Cartesian <br/> | '''Coordinate System:''' Cartesian <br/> | ||
'''Quality:''' Prosumer/Professional <br/> | '''Quality:''' Prosumer/Professional <br/> | ||
''' | '''Axis Travel:''' X: 120mm, <br/> Y: 288mm, <br/> Z: 210mm <br/> | ||
|- | |- | ||
|} | |} | ||
Revision as of 05:47, 5 December 2022
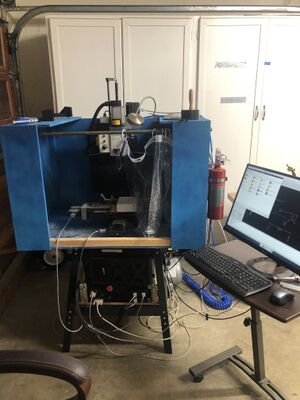
The Mini-Mill is a loan from Mr. "Breaks Everything".
Standard Operating Procedure
CNC Instructions
   1. Turn on Computer
   2. Flip power Switch to up Position
   3. Turn Estop Clockwise
   4. Login User: maglab
      Password: magcat
   5. Click on “metric” or “merica” for metric or standard interface
   6. Click Home All (important, bad things will happen if you don’t
   7. Click on file on top left and click open navigate to your g-code file
   8. Click on help for help menu
Notes:
   • Do not store g-code locally use USB drive
   • If Estop is pressed have to re-home
   • Use LinuxCNC post-processor
   • Power Off Controller Before Computer
Basic Maintenance
Quirks
Conversion was a project.
